[et_pb_section bb_built=”1″ _builder_version=”4.3.2″ next_background_color=”#000000″][et_pb_row _builder_version=”4.3.2″ custom_margin=”|auto||2px||”][et_pb_column type=”4_4″ _builder_version=”3.25″ custom_padding=”|||” custom_padding__hover=”|||”][et_pb_text _builder_version=”4.3.2″]
Ready to take your Lead Generation to the next-level using Synthetic AI Actors?
Today, I’m sharing a step-by-step guide on how to create incredibly lifelike, hyper personised LinkedIn Messages.
For this growth hack, you will need:
-A Zopto Account
-A Zapier Account
-A Synthesia Account
This blog is designed for people familiar with LinkedIn Automation, and having a good understanding of Zapier will be a bonus.
STEP 1) Create a new campaign with Zopto
Head over to Sales Navigator, find your ideal customer profile (ICP) and copy and paste the URL into your Zopto campaign.
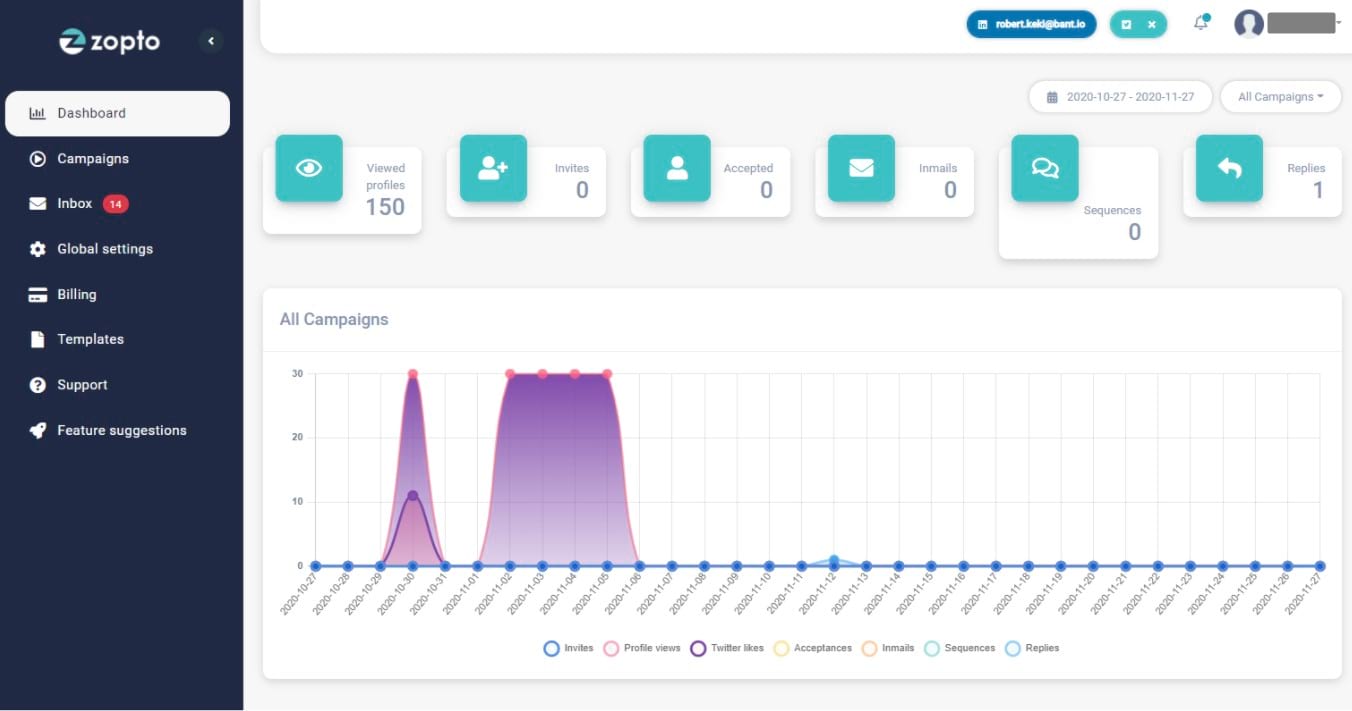
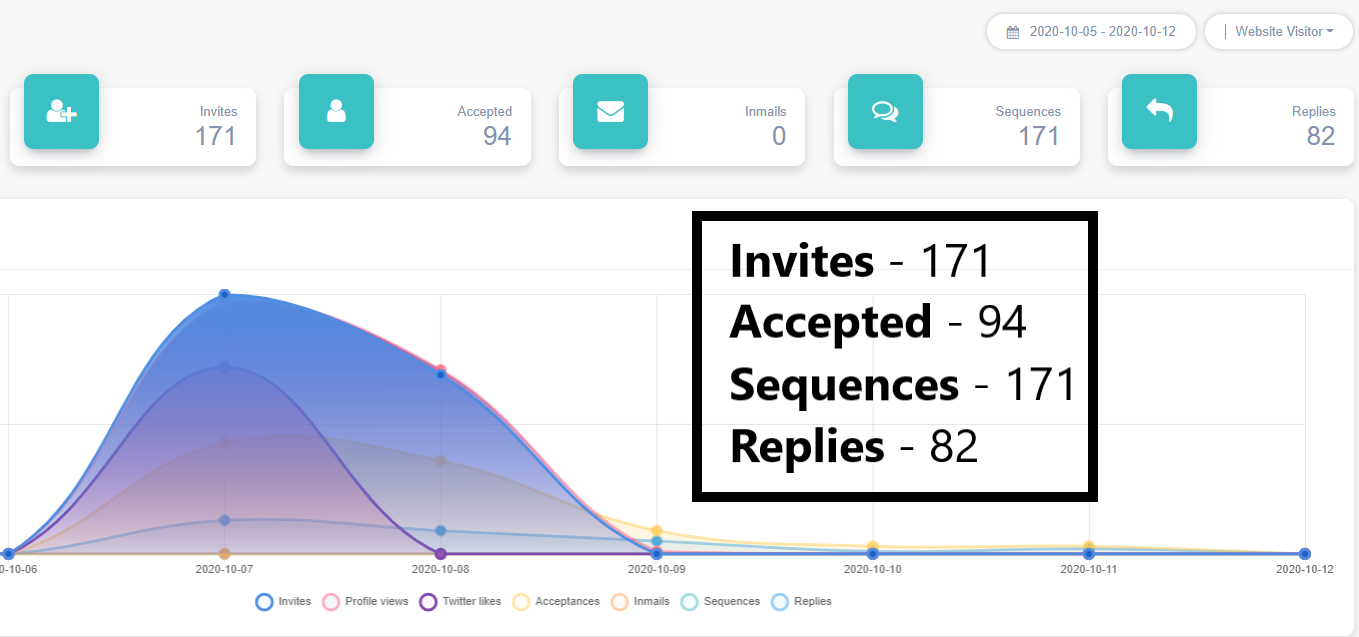
Once your Campaign has fetched, you should now have a list of profiles included in this Campaign – under the profiles tab.
STEP 2) Select the appropriate trigger
We will now need to create a trigger that will kickstart the automation. In the Zopto Setting menu, we have several Triggers available.
Send Responses to Zapier – This is for people who have replied to a Zopto Campaign.
Send New Connections to Zapier – People who have become a first-degree connection will start this trigger or people who have accepted your connection request.
[/et_pb_text][et_pb_text _builder_version=”4.3.2″ /][et_pb_image src=”https://zopto.com/blog/wp-content/uploads/2020/12/Zapier.png” _builder_version=”4.3.2″ /][et_pb_text _builder_version=”4.3.2″]
Step 3) Pushing the information and capturing it with Zapier
For this step, you will need to create a Zapier account. Zapier allows you to tie lots of different systems together – with limited coding knowledge.
Once you have logged into Zapier, click on “Make a Zap.”
To capture the information from Zopto, we will need the Webhooks by Zapier Zap.
Select “Webhooks by Zapier” and select “Catch Hook”. Think of webhook like baseball that contains lots of information and Zapier as a baseball glove that can catch all the information.
[/et_pb_text][et_pb_image src=”https://zopto.com/blog/wp-content/uploads/2020/12/Webhooks-by-Zapier.png” _builder_version=”4.3.2″ /][et_pb_text _builder_version=”4.3.2″]
Zapier will then provide you will a Webhook URL like below:
[/et_pb_text][et_pb_image src=”https://zopto.com/blog/wp-content/uploads/2020/12/webjhook-urk.png” _builder_version=”4.3.2″ /][et_pb_text _builder_version=”4.3.2″]
To complete the bridge from Zopto to Zapier, all you need to do is paste the URL into Zopto.
[/et_pb_text][et_pb_image src=”https://zopto.com/blog/wp-content/uploads/2020/12/Send-connections-to-Zapier.png” _builder_version=”4.3.2″ /][et_pb_text _builder_version=”4.3.2″]
You can now send some test information using the button under the Zap field. You will now be able to see all of the information that has been pushed from Zopto.
[/et_pb_text][et_pb_image src=”https://zopto.com/blog/wp-content/uploads/2020/12/Zap-info.png” _builder_version=”4.3.2″ /][et_pb_text _builder_version=”4.3.2″]
Step 4) Create a Synthesia Account
Now that we’ve got heaps of information from our prospects, what better way to use this information, then to send it to a synthetic AI-Generated Actor?
Synthesia allows you to select a presenter, type in the text of your choice and their system creates a fully-programmable ‘virtual’ presenter by combining video footage of a human presenter with AI technology, like below:
[/et_pb_text][et_pb_video src=”https://zopto.com/blog/wp-content/uploads/2020/12/hero-demo-compressed-1.mp4″ _builder_version=”4.3.2″ /][et_pb_text _builder_version=”4.3.2″ custom_padding=”||0px|||”]
Step 5) Apply for a Synthesia API Key.
Once you have applied for an API Key, you can start to use their API (obviously)
We will be running this next stage on Zapier, but using the Synthesia API documentation found here.
If you’re not a developer, then don’t worry! Neither am I – so we will be looking at how to turn this code into something we can work with.
[/et_pb_text][et_pb_image src=”https://zopto.com/blog/wp-content/uploads/2020/12/synthesia-API-code.png” _builder_version=”4.3.2″ /][et_pb_text _builder_version=”4.3.2″]
Step 6) Understanding the code and GET, PUT and POST
[/et_pb_text][et_pb_text _builder_version=”4.3.2″]
Again, If you are unfamiliar with code – don’t worry, we will go through in detail, but we will be using a “POST” request to post information to the Synthesia API to create our videos.
What are POST, GET and PUT? Simply PUT (geddit?):
- GET is used to request data from a specified resource.
- POST is used to send data to a server to create/update a resource.
- PUT is used to send data to a server to create/update a resource.
We have used Zopto to capture information from LinkedIn, and using a webhook – we are sending “POST-ing” that information to Zapier.
This would be a POST request (from Zopto to Zapier)
What will be going now, is again Posting (POST) the infromation we have captured from Zapier (from Zopto) to Synthesia’s API.
So if the code below looks scary, we can start to digest it.
[/et_pb_text][et_pb_text _builder_version=”4.3.2″ min_height=”395px” custom_padding=”|9px||||” border_width_all=”3px” border_color_all=”#000000″]
curl https://api.synthesia.io/v1/videos \\
-H “Authorization: ${API_KEY}” \\
-H “Content-Type: application/json” \\
-X POST \\
-d ‘{ “title”: “Hello, World!”, “description”: “This is my first synthetic video, made with the Synthesia API!”, “visibility”: “public”, “test”: true, “input”: [{ “script”: “This is my first synthetic video, made with the Synthesia API!”, “actor”: “anna_costume1_cameraA”, “background”: “off_white”, “soundtrack”: “inspirational”, “actorSettings”: { “horizontalAlign”: “center”, “scale”: 0.9 } } ] }
[/et_pb_text][et_pb_text _builder_version=”4.3.2″]
If you’re good a crosswords, by looking at the code below, you can probably get a lot of information about what the video will include:
[/et_pb_text][et_pb_image src=”https://zopto.com/blog/wp-content/uploads/2020/12/information.png” _builder_version=”4.3.2″ custom_margin=”||16px|||” /][et_pb_text _builder_version=”4.3.2″]
Step 7) Turning the Synthesia documentation into an easy-to-manage Zap.
What we can do now, is take the code above and turn it into a nice friendly Zap. We can also customise the variables, using the information we retrieved in Step 3.
[/et_pb_text][et_pb_text _builder_version=”4.3.2″]
Step 8) Using a Custom Request to the Synthesia API.
Even though Zapier has its own “Post” Action Event, we will be using a “Custom Request.”
[/et_pb_text][et_pb_image src=”https://zopto.com/blog/wp-content/uploads/2020/12/Custom-Request.png” _builder_version=”4.3.2″ /][et_pb_image src=”https://zopto.com/blog/wp-content/uploads/2020/12/transposed.png” _builder_version=”4.3.2″ /][et_pb_text _builder_version=”4.3.2″]
You will notice some element from the first part of our zap, that have been included, such as “Profile First Name” and “Company Name.”
If you don’t want to keep swapping the tabs to look at an image, you can copy and paste the below.
[/et_pb_text][et_pb_text _builder_version=”4.3.2″]
[/et_pb_text][et_pb_text _builder_version=”4.3.2″ hover_enabled=”0″ border_width_all=”3px” border_color_all=”#000000″]
Method:
POST
URL:
https://api.synthesia.io/v1/videos
Data Pass-Through?
FALSE
Data:
{
“title”: “{{108014972__profile_first_name}} – wishing you a happy holiday!”,
“description”: “Video for {{108014972__company_name}}”,
“visibility”: “public”,
“test”: false,
“input”: [
{
“script”: “Hey {{108014972__profile_first_name}}, thank you for following the zopto company page!.. I hope you have a wonderful Christmas and a fantastic new year!”,
“actor”: “anna_costume1_cameraA”,
“background”: “off_white”,
“soundtrack”: “inspirational”,
“actorSettings”: {
“horizontalAlign”: “center”,
“scale”: 0.9
}
}
]
}
[/et_pb_text][et_pb_text _builder_version=”4.3.2″]
Step 9) Authenticating the Request.
Next, you need to add the headers and your Synthesia API key. An API key is a long key that allows you (and only you) to make the request securely. Never, give your API key away to anyone.
[/et_pb_text][et_pb_image src=”https://zopto.com/blog/wp-content/uploads/2020/12/API.png” _builder_version=”4.3.2″ /][et_pb_text _builder_version=”4.3.2″ /][et_pb_text _builder_version=”4.3.2″]
Double-check everything, but if it’s worked, when we click on “Save & Continue” and “Test & Continue” we should see a green success message.
[/et_pb_text][et_pb_code _builder_version=”4.3.2″ /][et_pb_image src=”https://zopto.com/blog/wp-content/uploads/2020/12/Test-and-continue.png” _builder_version=”4.3.2″ /][et_pb_text _builder_version=”4.3.2″]
If everything had worked correctly, when we head over to your Synthesia account, we should see the video created with the custom fields from Zopto step one.
Pretty Cool, Huh?
[/et_pb_text][et_pb_text _builder_version=”4.3.2″]
Step 10) Marvel at your newly created lifeform.
[/et_pb_text][et_pb_video src=”https://zopto.com/blog/wp-content/uploads/2020/12/profile_first_name-wishing-you-a-happy-holiday.mp4″ _builder_version=”4.3.2″ /][et_pb_text _builder_version=”4.3.2″]
STEP 11) Creating a “Blank” Campaign for your AI Videos to go into.
Now that you have created life, there’s just one more step that we need to do and attribute these videos to people. Let’s go back to Zopto and create another campaign.
What’s important is that you untick “Ignore first degree connections” as we will be messaging first-degree connections. We want to both INCLUDE profiles locked in a previous campaign AND people who have already responded.
[/et_pb_text][et_pb_image src=”https://zopto.com/blog/wp-content/uploads/2020/12/Blank-Campaign.png” _builder_version=”4.3.2″ /][et_pb_text _builder_version=”4.3.2″]
The reason we are doing this is so we can create a new campaign where all of the people from Zapier can be put into using a “PUT” request. But we will go into this in a bit more detail shortly.
Note, I’ve included my profile URL as you can’t create a blank campaign yet – but this is on our feature list. 🙂
Every single Zopto campaign has a campaign ID, which we need for the next step.
Click on your new Campaign and in the address bar; you should see the ID for that Campaign.
[/et_pb_text][et_pb_image src=”https://zopto.com/blog/wp-content/uploads/2020/12/arrows.png” _builder_version=”4.3.2″ /][et_pb_text _builder_version=”4.3.2″]
This is the Campaign we will be putting the video URL and attributing it to a record as a custom field.
STEP 12) Let’s recap at this point.
-We have created a campaign in Zopto and set our trigger as “Responses or New Connections.”
-We also have a webhook URL in the appropriate field.
-We have then caught the information via the webhook via the “Catch Hook” trigger on Zapier.
-Once we have caught the information, we have modified the Synthesia API code with data acquired from the first webhook, e.g. name, company name.
-Once this information has populated, we will then send this to the Synthesia API via a Custom Request via Zapier.
-Once the video has generated, we can PUT the information back into Zopto using a PUT action on Zapier.
Your Zap should resemble something like below – without the PUT request BUT we’re about to get into this now.
[/et_pb_text][et_pb_image src=”https://zopto.com/blog/wp-content/uploads/2020/12/Capture.png” _builder_version=”4.3.2″ /][et_pb_text _builder_version=”4.3.2″]
And to give a visual overview of what we are doing, I did this on Paint 😂
[/et_pb_text][et_pb_image src=”https://zopto.com/blog/wp-content/uploads/2020/12/zzs.png” _builder_version=”4.3.2″ /][et_pb_text _builder_version=”4.3.2″]
STEP 13) Using a PUT request to attribute the Video URL to a Profile URL and a Custom Field back in Zopto.
To use the PUT request, we need the follow the Zopto API documentation and get our API key.
We will be using the “Add Profiles to Campaign” section and adding the URL for our Sythensia video to a custom field. I did a detailed YouTube video on how to use the Zopto API, which you can find here.
We’ve also got the steps below.
[/et_pb_text][et_pb_image src=”https://zopto.com/blog/wp-content/uploads/2020/12/Put-Request-back-into-Zopto.png” _builder_version=”4.3.2″ /][et_pb_text _builder_version=”4.3.2″]
You can copy and paste the information below into your Zap, but if you are an agency, you will need to change the URL from z-api to zapi, like below:
[/et_pb_text][et_pb_text _builder_version=”4.3.2″ border_width_all=”2px” border_color_all=”#000000″]
URL:
Single Users:
https://zopto.com/v1/z-api/stephen.cotter@zopto.com/add_profile_to_campaign
OR
Agency:
https://zopto.com/v1/zapi/stephen.cotter@zopto.com/add_profile_to_campaign
PAYLOAD REQUEST
JSON
DATA:
profile_url = linkedin.com/in/Johns-ID
campaign_id = The newly generated campaign
custom_field_1 = https://share.synthesia.io/VIDEO-ID
Headers:
Token = ZOPTO-API-KEY
[/et_pb_text][et_pb_text _builder_version=”4.3.2″]
Step 14) Running through the actions with a live lead.
I’m going to run through these steps again, using a lead from Zopto, so show you what the final product will look like.
Josh has accepted my connection request, and his information has been sent to Zapier.
[/et_pb_text][et_pb_image src=”https://zopto.com/blog/wp-content/uploads/2020/12/josh-costello.png” _builder_version=”4.3.2″ /][et_pb_text _builder_version=”4.3.2″]
This request is sent with Josh’s information to Synthesia and generates an ID
[/et_pb_text][et_pb_image src=”https://zopto.com/blog/wp-content/uploads/2020/12/Josh-ID.png” _builder_version=”4.3.2″ /][et_pb_text _builder_version=”4.3.2″]
Whilst the video is being created for Josh, we can put this ID into a custom field back into Zopto, using the PUT request.
[/et_pb_text][et_pb_video src=”https://zopto.com/blog/wp-content/uploads/2020/12/Josh-wishing-you-a-happy-holiday.mp4″ _builder_version=”4.3.2″ /][et_pb_image src=”https://zopto.com/blog/wp-content/uploads/2020/12/synthesia.png” _builder_version=”4.3.2″ /][et_pb_text _builder_version=”4.3.2″]
Our Josh video has now been updated a custom field in Zopto.
Now the next stage is to include this custom variable as a message in your Zopto campaign
[/et_pb_text][et_pb_text _builder_version=”4.3.2″]
We can include this “custom_field_1” on our sequence messages.
Like so:
[/et_pb_text][et_pb_image src=”https://zopto.com/blog/wp-content/uploads/2020/12/synthesiacustom.png” _builder_version=”4.3.2″ /][et_pb_text _builder_version=”4.3.2″]
And this is what the prospect see’s on there end!
[/et_pb_text][et_pb_image src=”https://zopto.com/blog/wp-content/uploads/2020/12/final-product.png” _builder_version=”4.3.2″ /][et_pb_text _builder_version=”4.3.2″]
Step 15) Turn everyone on and automate lots of amazing hyper-personalised videos.
If you have any questions about what you have seen, please get in contact with me via my calendly.
https://calendly.com/stephen-cotter/30min
[/et_pb_text][/et_pb_column][/et_pb_row][/et_pb_section][et_pb_section bb_built=”1″ _builder_version=”4.3.2″ disabled=”on” locked=”off” prev_background_color=”#000000″][et_pb_row _builder_version=”4.3.2″ vertical_offset_tablet=”0″ horizontal_offset_tablet=”0″ custom_margin=”|auto||2px||” z_index_tablet=”0″ box_shadow_horizontal_tablet=”0px” box_shadow_vertical_tablet=”0px” box_shadow_blur_tablet=”40px” box_shadow_spread_tablet=”0px”][et_pb_column type=”4_4″ _builder_version=”4.3.2″][/et_pb_column][/et_pb_row][et_pb_row _builder_version=”4.3.2″ custom_margin=”|auto||2px||”][et_pb_column type=”4_4″ _builder_version=”4.3.2″][/et_pb_column][/et_pb_row][/et_pb_section]
← Previous Article
 Sell Like A Telepath: Double Your Conversions!
 Next Article →